how to install a radiator valve DIY Guide

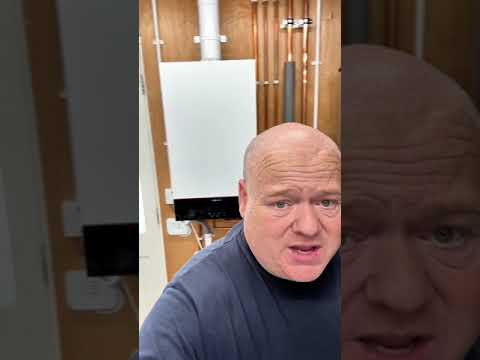
Hey there, fellow plumbers and DIY enthusiasts! Today, we’re diving into something that’s often overlooked but super important in the world of plumbing—radiator valves. Whether you're a seasoned pro or just dipping your toes in the DIY pool, knowing how to install a radiator valve can make your life a lot easier.
First off, why should you care about radiator valves? Well, they control the flow of hot water to your radiators, which means better temperature control and more comfort in your home. Plus, if you've got a leaky or inefficient valve, it can lead to bigger issues down the line. So let's get to it!
Before you start, make sure you have the right tools. You'll need an adjustable wrench, some plumber's tape, and of course, a new radiator valve. Don’t skimp on quality here; a good valve will save you headaches later on.
The first step is to turn off your heating system and let the radiators cool down. Safety first, right? Once that’s done, you’ll want to close the isolation valves on either side of your radiator. This stops any water from spilling out when you take out the old valve.
Next, it’s time to remove the old valve. Use that adjustable wrench to loosen it up, but be ready with a bucket or cloth to catch any residual water. You might want to keep a towel handy for those "oops" moments!
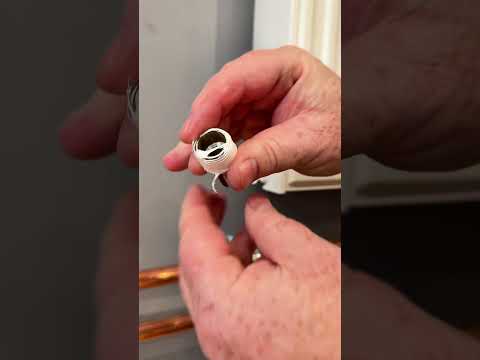
Once the old valve is off, wrap some plumber's tape around the threads of the new valve. This helps ensure a good seal and prevents leaks—nobody likes a leaky valve. Then, screw the new valve onto the radiator firmly but don’t overdo it; you want a snug fit, not a vice grip.
Now, it’s time to open the isolation valves and slowly turn your heating system back on. Keep an eye out for any leaks. If everything looks good, congratulate yourself! You've just installed a radiator valve like a boss.
Remember, plumbing isn’t just about fixing things; it's about improving lives and making homes comfortable. So next time someone asks you to help with their plumbing, you’ll have another trick up your sleeve. For more handy tips and tricks, check out the video linked above and don't hesitate to get your supplies from the link provided. Let’s make heating issues a thing of the past!