how to solder copper pipes #plumber
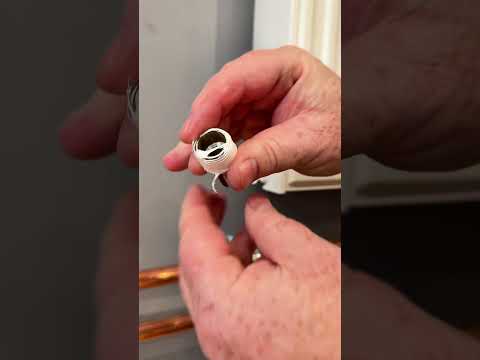
Hey there fellow plumbers and DIY enthusiasts! Today, we’re diving into one of the most essential skills every plumber should have under their belt—soldering copper pipes. Whether you're a seasoned pro or a homeowner looking to tackle your plumbing projects, mastering this technique is key to creating robust, leak-free connections. Soldering isn’t just about melting metal; it’s about creating a strong bond that can withstand the test of time. In the video above, you'll see a step-by-step guide that covers everything from prepping the pipes to applying the solder. Trust me, a good solder will save you from future headaches and costly repairs. Before you start, make sure you've got all the right tools. You need a torch, solder, flux, and, of course, a decent pair of gloves. Safety first, right? The prep work is really where the magic happens—cleaning the pipes and applying flux is crucial. It ensures that your solder flows smoothly and forms a solid joint. Once you're all set up, it’s all about timing. Heat the joint evenly and introduce the solder at the right moment. You want that sweet spot where it flows nicely without melting your pipe. And there you have it—solid copper joints that stand strong against leaks. So, if you're looking to expand your plumbing skills or just need a refresher, be sure to check out the video. Soldering copper pipes isn’t as daunting as it seems, and with a little practice, you’ll be a pro in no time. Happy soldering!