BUILD A MAN CAVE – PART 3 – NEW GARAGE ROOF – DIY – STEP by STEP installation. Today we’re doing video three of the Man Cave. I’m going to do the EPDM rubber roof today. So, I’m going to do the rubber roof. I’ve got it from Rubber for Roofs. I’ve got no affiliation with these at all, so I’m not getting no commission or anything like that. There might be somewhere else where you can get it cheaper, I don’t know. All I’ve done is I’ve gone on their website and I’ve put in the measurements that I need. And it’s brought up the full kit, and that kit you can design exactly what you need. So, it’s proof really.
This is the first time I’ve ever done a rubber roof, so yeah, let’s go and have a look. That’s the rubber. Let’s go and have a look now.
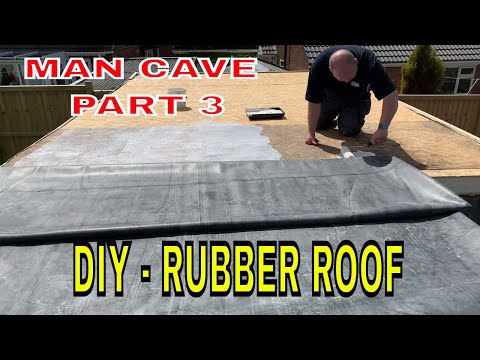
Got the first day of sunshine today, so I’m going to pull the roof back and I’m just going to let it air out a bit, because obviously we had a lot of rain on that roof, I would imagine that underneath there it’s quite damp. So, I’m just going to do that now.
I’ve pulled the rubber roof back now into a pile here. As we can see, it’s absolutely soaking wet, drenched. So, I’ll need to let that dry out. I might not be able to do this roof today. Some of these boards are not perfect because obviously they’re used boards, and there are little edges and stuff. But it’ll be all right.
For the back of it, for cladding, I’ve just bought this metal cladding. I’ll show you now. Just at the back of that, you can see it’s tight there, so it’s got a fence in between. I won’t be able to get to this after to paint it, or treat the wood, so that’s the reason I’ve done the metal on the back.
So far we’ve had this open about half an hour, three-quarters of an hour, and it’s already started to dry out quite a bit. We might be able to do this today. There are some great videos on YouTube, rubber for roofs, and it’ll show you how to do this. It’s very, very, very easy to do, definitely a DIY job.
I’m just putting an up-stand all the way around. I’m just using some roofing lat. So, just going to screw that on now. Started to put my lat, my up-stand all the way around now, and cut that off and tidy that up shortly.
In the kit, you get a roller, another little bit of a roller, some big scissors. Paintbrush, just a stick, and then a big roller as well. My first job what I’m going to do is this where it seals, it seals to the other roof, I’m going to put some primer on there and then I’m going to glue that down. For anybody who didn’t see on the other video, I’ve already put a joining strip in there and joined this roof together. If you haven’t seen that, if you have a look on video two, it shows you that. So, I’m just going to clear this off now and put some primer on.
The primer comes in your kit when you buy it. I’m just going to put … I’m going to do it with some blue roll, just because …
Doing it with blue roll probably wasn’t the best idea. As I say, have a look on some of the rubber for roof videos. I’m then going to use this bonding adhesive, and you couldn’t make this weather up, clouds have come over again now. It’s been absolutely glorious, and now we’ve got to this stage, clouds have come over. So I’m going to hurry up and just get this … I’m going to do this with a paintbrush this time. What we’ll do with this is paint this on both sides of that, let it go off a little bit so it’s, and then push it together then.
So, we’ve just had some more rain again. I’ll just let this dry off for a little bit, the sunshine’s back out again now. Hopefully, we’ll be able to still continue today. I’ve put the roof back down for now. If we just see there, I mean the sun’s shining like mad, but there’s another black cloud there. There are no other clouds in the sky, so I’m just going to leave it now a few minutes.
Right, it’s dried off, let’s try again. So, I’ve lifted the roof back up again now, I’m just going to let that air out again. It’s got a wet patch on it again there. Rest of it’s quite dry. And then we’re going to use this big roller there and we’re going to use this roof deck adhesive next. I’m just going to do a small section at a time on this. You never know, it might start raining again. So, all we need to do with this is this one we roll and we leave a gap at the end. And we use the other adhesive for the end.
So, I’ve done the first bit of that now. I’m now going to do this next panel. Just need to try and sweep out as many air bubbles as you can to the side. I’ve still got this side to lift back up, and I’m going to do that side as well.
When it comes to the edges, all we do is just pull this back on this, and then we glue on here, and then glue on this bit with the bonding adhesive. And then once it goes off a little bit, we then put it together and get our roller and roll that down. I’ll just show you on the other bit, so you can see what it’s like. And then once you’ve glued it down, it’ll look like this part here. And


