Structural Insulated Panel. Building a MAN-CAVE with used SIP panels. Garden office room.
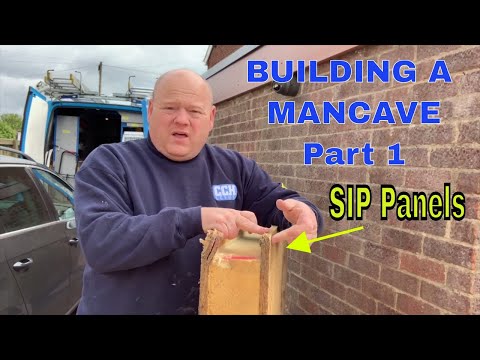
Budget DIY mancave build. Using second-hand SIP panels. Rubber roof. Building a Mancave in my back garden today I’m going to build a SIP panel garage, man cave, whatever you want to call it. So I just thought I’d do a little video, just to show you. I will say that I’m not an expert on this. There’s lots of videos on YouTube that shows you how to build SIP type buildings. So, I just thought I’d show you this. If you have a look at this, what you’ve got, you’ve got a wood panel there, it’s like that ply stuff, and then you’ve got your insulation in the middle, and then the wood again. It’s that OSB type board. So, what I’m going to do, I’m going to cut some of these up, I’ve got some that are quite big, and I’ll show you what I’m doing. So yeah, let’s have a look now.
I got these panels off Ebay, these panels were £150 each. They’re 6 metres long and they’re 1.2 metres wide. And then, what I’ve got here, I’ve put the base in, you can see there, my daughter’s scratched her name in it. And then, I’m going to connect it onto here, so we’ve got all of our electrics in there already. And if we have a look on these SIP panels, so I’ve cut this one, I’ve cut this one to size, and all we need to do is, the timber, so we’ve 4 x 2, 95 ml I think it is actually, by 47 ml, and then I’m going to screw it onto this wall here, which I’ll do shortly. And then, also, one on the floor as well, we’ll put some damp proof on there.
So, as I said, this is just a DIY project, so I’m not saying I’m an expert at this, but yeah, I just thought I’d share it with you. So, let’s get some of these panels on the wall. When we look at these panels, this comes with a groove in there, and that groove there, that’s about 2 inch, so about 50 millimetres, and then, to join them together you just put some timber in there like that, and then you can connect your other panel onto that. And then, you just screw these together, and then in that gap there you can put expanding foam in as well.
You can also buy, instead of using timber, you can buy smaller ones of these. If you buy it, you can buy these in kit form, and if you buy them in kit they’re quite expensive, they’re like 4 or 5 grand for what I wanted, maybe even more than that. So, I’m going to do it with timber. I just didn’t want to spend as much as that on this.
I’ve measured this, and now I’m just going to cut this down to size, because I saw I cut down on the cost really, and then have to do my own groove on this side, but I didn’t want to spend thousands of pound more, I’d rather just buy these panels. I’m just going to put my timber on the wall now, so I’ve got my damp proof behind there, and then I’ve got these fixings that I’m going to use, and then just screw that onto there.
Now I’m going to put the bottom piece of wood in, I’ve used tanalised treated wood, just so it lasts longer really, for the difference in cost, I’m not going to use just normal soft wood. So yeah, so I’ve got a fixing in there, got that on there now, and then we’ll put the panel on shortly. So I’ve had to cut the foam out of the end there, as you can see it’s a bit of a mess. If you can, or if you wanted to you could just buy it in kit form. If you buy them in kit form you’d be able to build them in, probably a couple of hours, but obviously I’ve bought these big long panels, so I need to do my own.
The good thing for me is I can do the different sizes, and just do what I want, but yeah, it does make a bit of a mess. These panels are really heavy, if you can buy the smaller ones you’re probably best just to buy the smaller ones. So, we’re just going to lift this now, onto that, onto that timber there. So, we’ve lifted it all into place now, and I’ve got my little helper. Luke, how you doing? Going to say hi to everybody?
Hi.
And then I’m just going to screw that on now. I’ve put the corner on there now, because we’re using these panels we can use all the off cuts. And I’ve just got Luke on the other side, just putting some screws in somewhere there. You all right Luke?
Yeah.
And then all the gaps, we have expanding foam in them. So, I’m using the circular saw to get a nice edge on this side, because the panels are so heavy and I can’t turn them over very easily I’m then using this saw to cut through. Now, that edge will not be as good as this side, but then I can just tidy it up a little bit afterwards.
So we’ve now got 3 sides up, just the first level, and we’ve put the door in place. And that end there, I’m just going to cut that in place. On this, what I’ve done is, I’ve put some 4 x 2 and some 4 x 2, slightly less than 4 x 2, it’s 45 ml by 95 ml, and then I’ve put some foam in between, just to try and give it a little bit of insulation on that part of it. And then, what I’m going to do is, I’m going to screw with a 4 inch screw all the way through on there, and then that’ll give it the strength


