Copper Glue, How to Bond Copper Pipe
How to solder copper without a flame step by step install including pressure testing, https://www.youtube.com/watch?v=Pu0hSieCd8M
Yesterday I did a video about Super Power solderless copper bonding, and since then, have been inundated with questions about it, so what I’m gonna do is I’m gonna drain this system down here until the stopper ends off. I’m gonna put a little bit of pipe into this so that when the heating’s on, it’ll continuously go around this loop of pipe that I put in. So, what I’ve got is I’ve got some fittings here and we’re gonna connect these into this system, here. I’ve also got a pressure gauge so we can see what pressure it’s at, and yeah. Let’s go on our vlog now.
So, first thing I’ll do is I’ll switch power off on this, and then what we’ll do is, we’ll drain it down from this filter, here. So, I’ve just put some push-fit stop ends on here, so I’ll take these off, and then we’ll just drain water out of it. I’m just gonna line this up so I can put some clips on, and then we’ll clean the pipe off, and then we’ll glue some of these fittings on. So, just to point out that this is not a training video, so please refer to the manufacturer’s instructions on how you would instal it. I’m just gonna do a quick demonstration of my own and this is just how I’m gonna instal it, so I’m gonna get sandpaper, clean this fitting up, just clean this fitting up under here, and yesterday, somebody asked about water. There is a bit of water in this pipe, so I’m just gonna clean it all. I’ll prep it all, and then I’m just gonna do them all at the same time, I think.
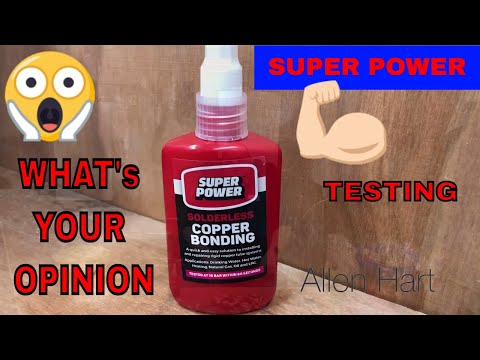
So, we’ve got a Super Power solderless copper bonding compound or whatever you call it, so, surprisingly, it goes back quite easy. It’s fairly roomy. So, I’m gonna put a here. We’re gonna put that there, and we’re gonna put a pressure gauge in, just up here. Surprisingly easy to instal. So, I’ve put quite a few joints in this, as you can see there, and as I said, this is not a training video, so it might be to the instructions of the manufacturer’s, but we’ve put a pressure gauge here, and what I’m gonna do now is I’m gonna pressurise it. I’ve left it for five minutes and now I’m gonna pressurise the system up, and then we’re gonna run it for a while. I’m gonna see if we’ve got any leaks to start with.
So, I’ll add the link to the previous video in the description below, and please comment and tell me what you think so far, and what you think of this product, and whether or not you think that you might use it on a system. So, let’s up. So I’ve put a pressure gauge. We’re just over two bar, there. I’ll turn the boiler back on now and I just put the boiler into duration mode, so the pressure gauge on the boiler shows that we’re just under two bar, and that pressure gauge shows about two bar as well. So far, so good, no leaks, so what we’ll do now, we’ll run some hot water around it and I’ll cut the thermal energy camera onto this so that you can see the hot water going around it. So, we’ve got thermal imaging camera on here now just to show you that it is a working circuit. We’ve got water going through there.
So, that’s this Super Power solderless bonding compound, and as we can see, there’s no leaks and it’s all working as it should do. What’s my opinion? Well, one thing I will say, this joint, here, were a little bit difficult to do because you’ve got to still try to turn it around 360, so some of it’s a little bit awkward, but overall, it were a lot, lot quicker than especially using solder. It were miles quicker than using solder. Will I use it? For now, I think what I’ll do is I’ll leave it in here on test and I’ll see how we go of it, but I can’t really fault it. I can’t say bad about it at the moment, but the jury is out for me, because I want to test it for a while before I would ever dream of using it in a customer’s house, but yeah, so far, it looks okay. Thank you for watching.


