How to Install a Fernox Omega Filter
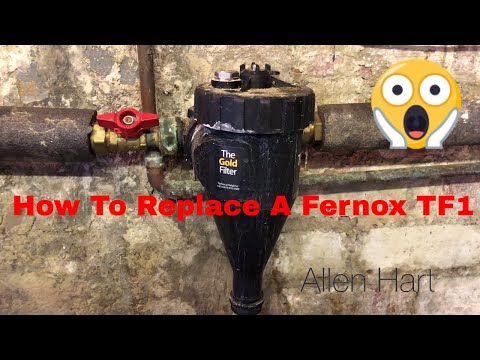
Step by step DIY guide on replacing a leaking fernox tf1 central heating filter. Today I’m working in Yeadon, in Leeds. We’re doing a boiler swap, we’re going to take this boiler out here, but while I’m here I thought I’d do a video showing you how to change your Fernox TF1 and swap it for an Omega Filter.
So there’s a couple of different ways we can do this, and we’ll do it now. So, just to back out of this filter, this is fully serviceable, so we could totally repair it, but we’re putting a new boiler in, so we’re going to fit an Omega Filter on this system. We’re also going to flush it out with a MagnaClean’s, so our adaptor fits on the Omega Filter, so it just makes it easier for us as well for flushing the system.
So this is the new brass filter from Fernox. So when we look at this we can see it’s the one with the valves. So what we’re going to do, I’m going to turn the valves off on this filter, and then we’re just going to connect this in its place.
So if we open the box up on this, we’ve got this filter. So that filter comes with a 25 year guarantee. So it’s brass, so it’s magnet goes inside, and it also comes with some valves, so if you want to fit the valves you’d have to fully drain the system down and then you could fit the valves. For the purpose of this video, we’re just going to connect this in.
So, to remove this filter, all you need to do is close these isolation valves here, and then drain this down. We’ve already isolated the boiler, so there’s no water going to flow through here, and then we just open the valve at the bottom.
So the Omega Filter comes with new washers, so we put these new washers in here. So that’s the Omega Filter, just connect that in, back in onto the same nuts. And then in your packet you get a drain off, and it comes with a washer as well. So just put that in there, and just connect that at the bottom. And just tighten it up.
So this connection here, it doesn’t need to be really tight, it can just be … you can just tighten it up a little bit, because that is a double in there. Fernox have made it really easy with that.
Then all you need to do is turn your isolation valve back on, and then top your boiler backup if you need to put some more pressure in, and turn the power back on.
So that’s the new Fernox Omega now installed. One thing, just keep hold of your valves just in case these valves leak in the future, and then you’ve got replacements. Thanks for watching.


